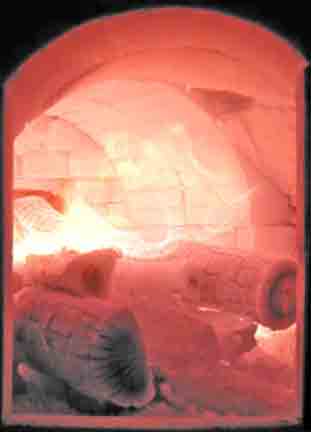

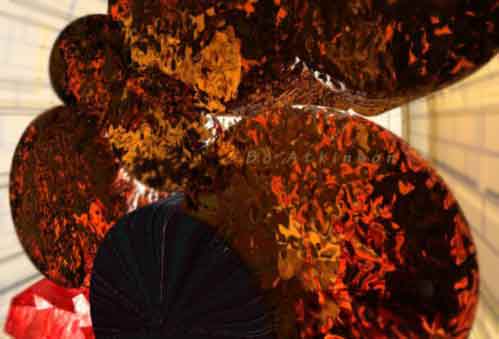
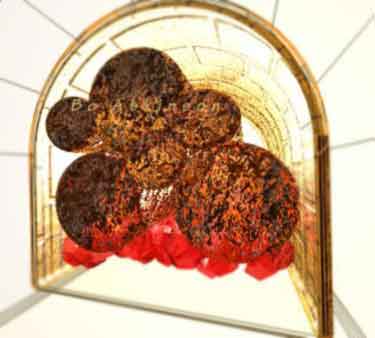
For serious wood burning, the insulated firebox offers design flexibility, high efficiency, fast starting, long burning, and fault tolerance. (Integration of this fire box into complete masonry systems is discussed on links found below). Unfortunately, this insulated fire box produces beautifully -dazzling fire conditions which are too hot for large ceramic glass "windows". Sorry about that, but obtaining a hot and efficient burn is the key to better heating. Picture below was taken with a large window that did not last long. This firebox was built to replace my Vortex Flame Amplifier, (burner/ firebox) which was researched in the 1980's. To better see high temperature fire quality, click on the picture:
Construction details, utilizing insulated fire bricks, are linked here, (where pre existing conditions made installation more difficult). However simpler designs are recommended, especially for new construction. Insulated fire bricks are very high grade material, with a very small market and therefore expensive. So that there are incentives to use improvised cost saving schemes. Refractory wool blankets, offer improvised, less durable insulation at high temperatures. In fact one can line an existing metal stove, in order to test the concept and experience the remarkable improvement in burning wood.
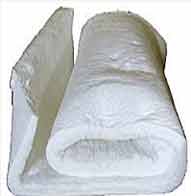
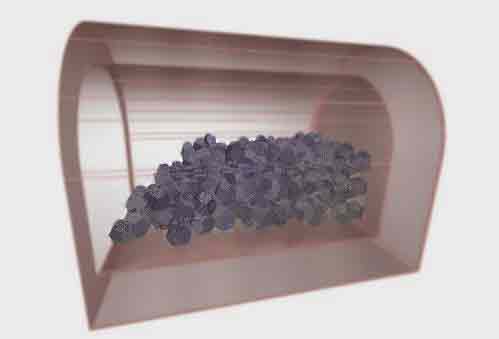
To improve durability, the wool can be saturated with high quality refractory , heat setting cements. This page will focus on the the more permanent brick fire box. First presented is my 'charcoal burning method'. Schematic pictures demonstrate my general method of use. The arched refractory roof contributes a structural geometric component called compressive design. (Flat roofs would be more prone to collapse under intense, prolonged heating).
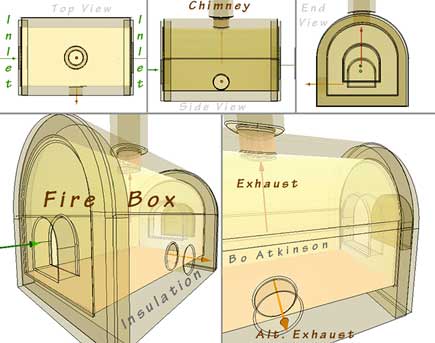
Insulated firebox size can vary in custom construction and should be based on user needs. Inlets represent loading door and/or viewing window. Either can serve as simple air inlets for combustion. Insulation is obtained with thick walls.
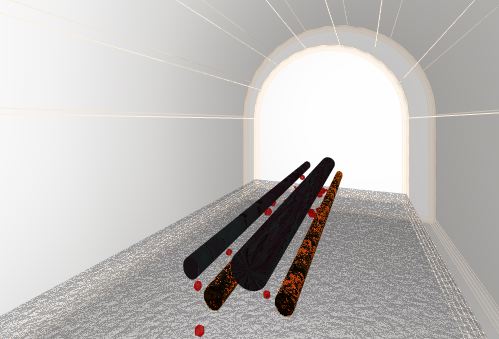
Small increments of start-up kindling can quicken temperature rise in an insulated box. Insulations means less material to heat up. The hotter a burn, the more efficient and the less soot and tar build up( in chimney).
Lazier use can impel much larger batches in a start up, which does make a little more soot or tar in the chimney. It saves this user the time spent tending a fire with gradual build up.
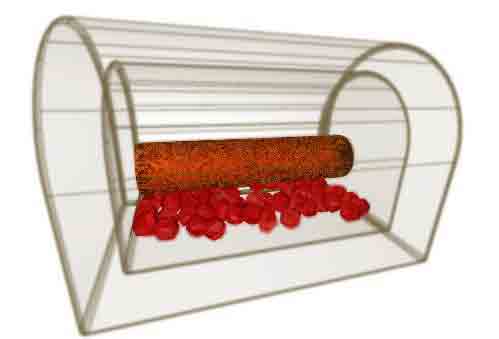
Fuel saving operation will have reduced heat output . The insulated box allows the smallest-still-efficient-output levels. Once the free water is heated off and the wood 'carbonizes", then charcoal burning starts. Charcoal is much more tolerant, still providing efficient burning at low levels.
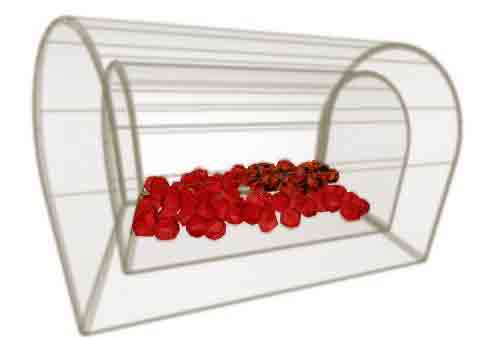
Chunky live coal beds are easily built up-- Simply, by adding more frequent additions of sticks or logs. Gradual addition means adding less at each time, but incrementally increasing fuel content. Stoke and build smaller loads. This easily converts wood into charcoal. Keep topping off fuel additions.
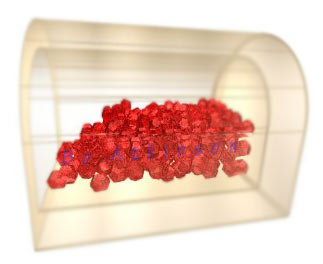
Live coals like this can be saved for later use. As for example, if heat output is suddenly not needed-- The sun unexpectedly breaks through and passive solar initiates suddenly. Air is simply 'choked off', (Inlets are shut tight. Without air, true charcoal coals simply suspend burning and without loss. Whereas, unconverted wood will smolder until it is converted into charcoal. The smoldering represents some fuel wasting and some potential soot and tar build up.
Therefore, learning and following these principles, can save fuel costs. Much greater system integration, in a monolithic design was posted here. Monolithic integration of domestic functions provides many household needs.
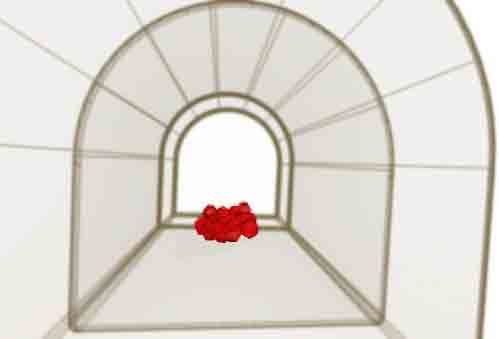
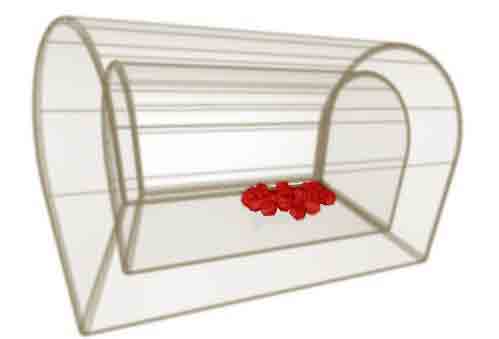
During simplified use, one might forget to refill on a precise schedule. I often find just a few embers left. A flat hoe, preferably all metal construction, easily pulls back these embers, as follows.
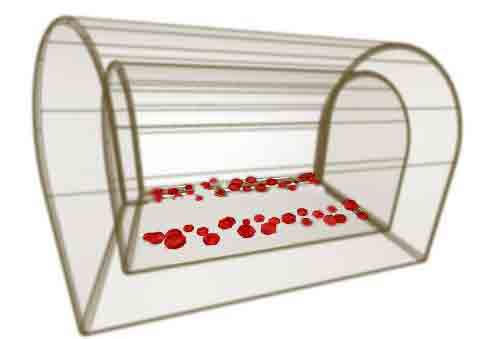
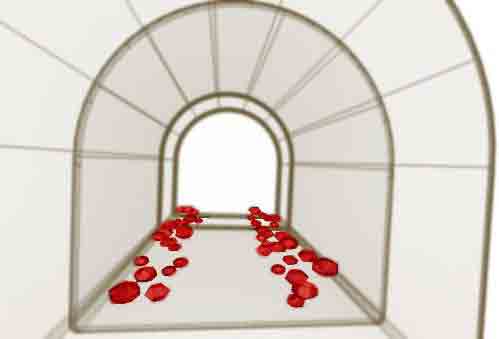
Embers are spread long ways. Then with the handle, a 'part' is scraped with handle. As air hit the embers, the live charcoal reappears. Just a small amount like this is sufficient to start up a fire again.
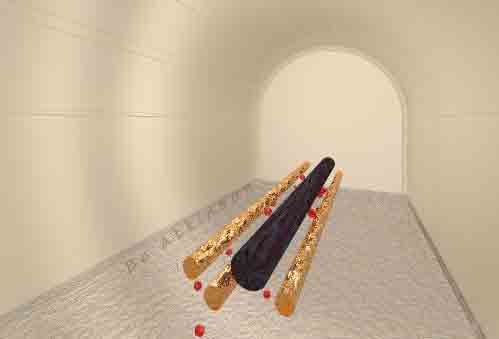
Small amounts of kindling can be used. Or heavier sticks or logs can be directly added. Slow build up or accumulation of coals allows more complete combustion at start up.
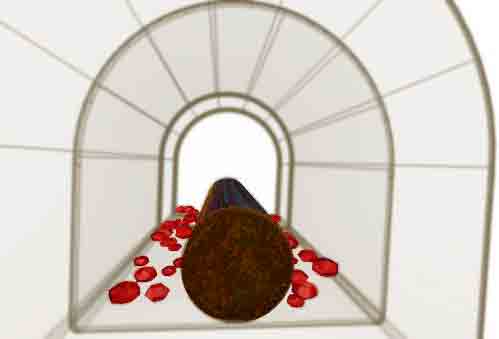
It takes surprisingly, very little live embers to re-ignite large pieces which are dry. the insulated fire box makes the difference.
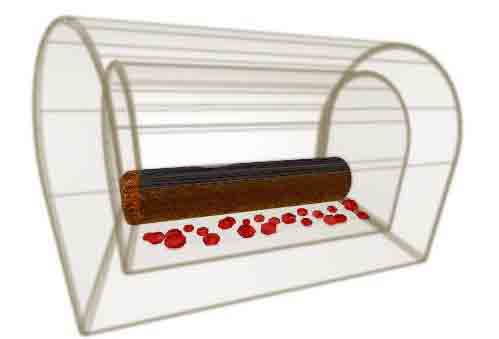
After years of trying many burning methods, the insulated fire clearly eases start ups and improves efficiency of long burns.
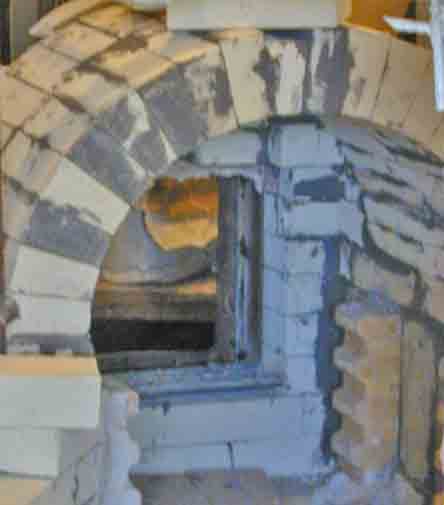
Insulating arched firebrick were used primarily along with some other features. Refractory anchors were used as 'bumpers' to protect the fragile insulating firebrick. Anchors are very dense and strong firebrick which have somewhat corrugated faces, (made to anchor rammed refractory mixes).
Despite the best refractory ratings, high fire temperatures weaken any common industrial material. Loading large firewood chunks can damage even the stronger anchors. (Ribbed refractory bricks intended for hanging refractories in industrial kiln ceilings). Keeping new wood centered in the coal bed can cushion the furnace walls and avoid breakage.
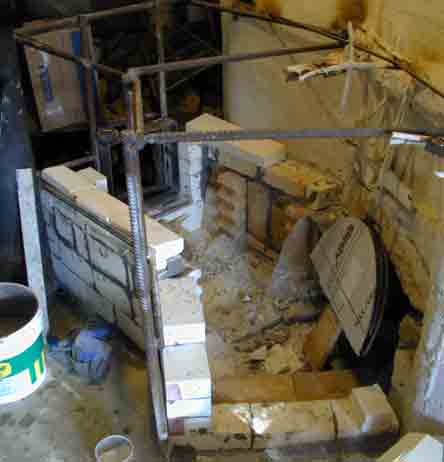
The picture above shows the anchors and insulating firebrick "risers", (vertical walls upon which the arch will sit). To accommodate the existing conditions, the layout had to make an angled turn. This firebox is built next to a large composite flue core, which had been built in the late 1970s. (It was improvised from traditional masonry heaters, except cast in place concrete methods were used instead of traditional bricks. Circular patterns were molded, similar to the core on this linked page. A versatile cement branded "Fondu" was used internally and Portland concrete externally, with 3 concentric flues. More pics may be added here from old 35mm film).
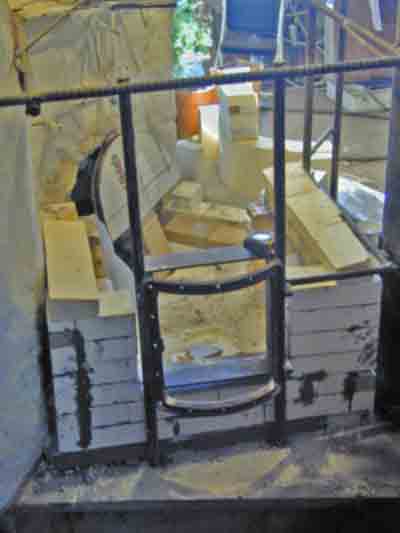
Heavy rebar framework was welded in place and also sunk into the old core. Frankly I prefer not to build this way. This was a fast job as winter arrives and I actually should have spent more time to do the whole remodeling effort more in this manner. (Linked Page). A wood- loading door was salvaged from a junked Ashley wood stove and it was welded to the rebar.
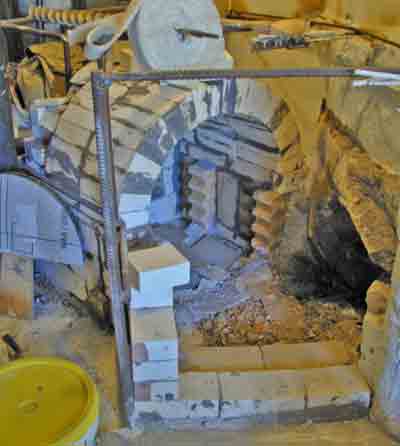
The arch is started above. To the bottom of picture on right is the passage to the bottom of the heater core. To the bottom of picture is the threshold of the arch seen in first picture. Because the ceramic glass of today is not capable of withstanding high temperatures, a temporary insulating panel is presently used, instead.
Temporary ferrocement shell panels were attached to the thick rebar and loose mineral wool was packed in between. Time passed before a cooking surface was put in. Finally a simple plate of cheap 12 gauge steel was used. It was bent into a very slight curve to prevent uneven warping. This thin steel was chosen for faster conduction.
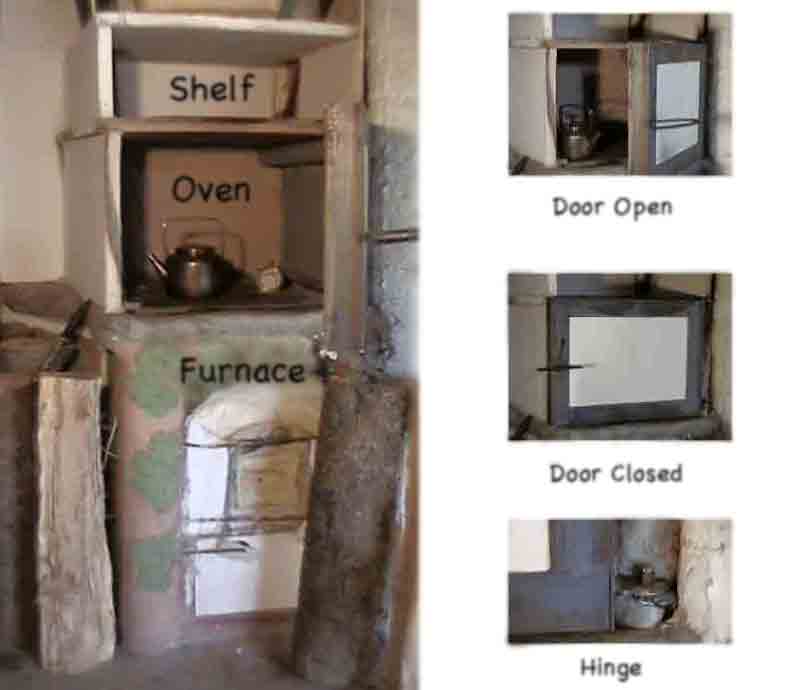
A small damper was added to it for more control. Fabricated, insulating board was used to build a fast oven and door. The 12 gauge steel transfers heat very well. Water boils well, though slower than "High" on a common cooking range. The best part is the reflection intensity of insulating refractories. I can bake bread rolls instantly without burning.
All in all the general configuration works well.
(Page is still under construction)
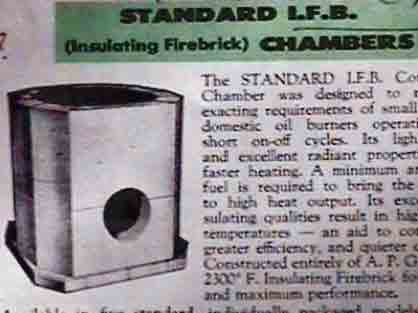
An obsolete "AP Green, Refractory Pocket Catalog" offered insulated chambers to improve ordinary oil burners:
For retro-fits and low cost experimentation, insulating blankets can be used. While plain blankets can hold up well in some applications, I also like to apply a slurry of (phosphate bonding) mortar, which can soak into the mineral wool to firm up the wool faces. I have had great results with a brand of refractory wool called Fiberfrax, though others may work as well. Using thin blankets of this material in a laminated fashion, soaking each face in a refractory mortar slurry, might produce a good firebox body of any shape or size. One could make a "paper mache" or "papercrete" form for the firebox. Once firm and dry, the form work could simply be covered with slurry-laminated wool blankets, (providing all materials are refractory products). The paper form could burn out, but slow initial heating and drying should be practiced. After the structure has been slowly dried and fired, it will be permanently set and ready for normal (and careful) use.
Vortex Flame Amplifier : Solid Fuel Burner Experimentation
Monolithic Pour, Tilt up Masonry Heater Proposed
2007 Informal Apprentice Workshop Offer, Click Here
Note: These pages are placed in the public domain and are furnished "as is". The author assumes no responsibility for the use or misuse of the concepts in this series.
Searching Synergy .... .... Free Exchange of Ideas
Enersearch was incorporated in 1980 but never materialized financially. A synergy of concepts were developed and are reflected in the pages of this series. The synergy continues as a single handed effort of Bo Atkinson, in Maine, USA.