. 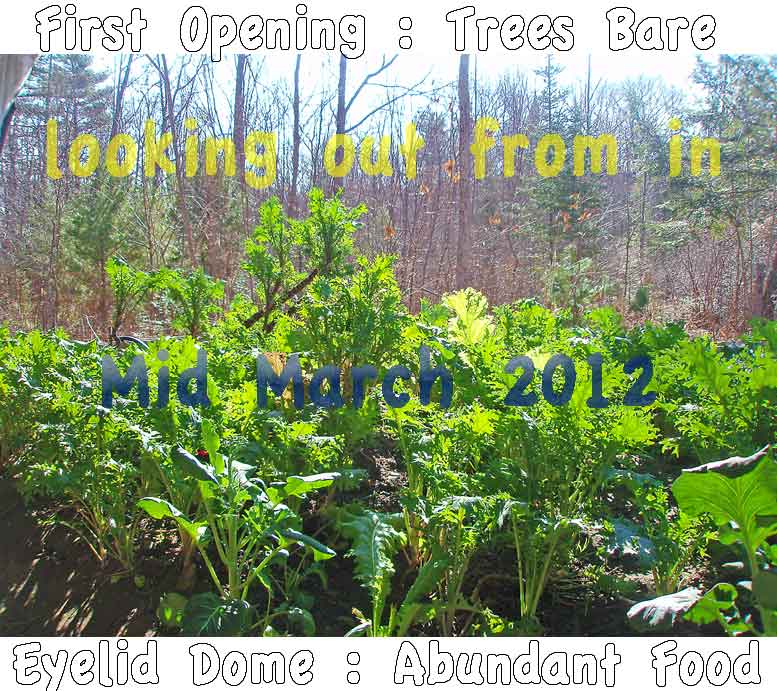
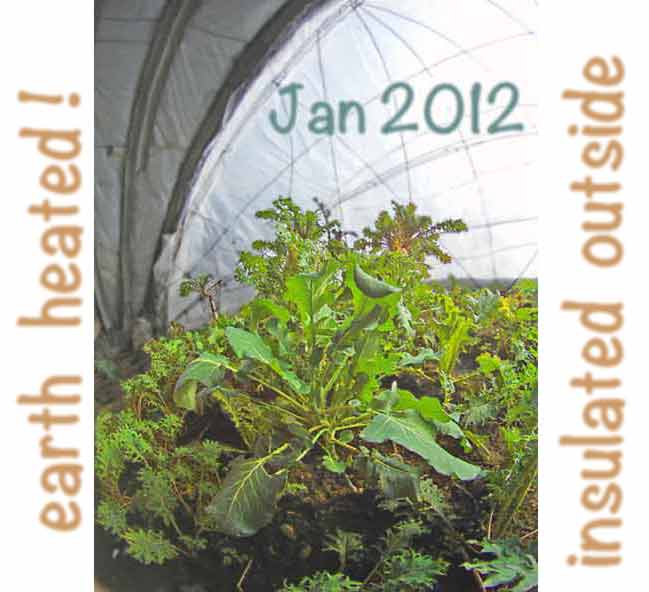
Extend your growing season better than regular greenhouses can extend growing seasons. Why? More insulation! Insulate the whole house site! Finally, all my surfaces have some winter insulation. It is very unrefined but greens are frost-free all winter. The soil is warmer for plant roots and chutes. I'm glad to test the concept on a low budget. Creative licence + common sense frees up one's life! Be free!
My insulation level here, is less than intended. (I get distracted with other projects and jobs). My low budget and delayed focus has proven worthwhile. We invested little money but lots of study time. Take advantage of my lessons learned.
Email is welcome: ![]() Let us consider some streamlined possibilities.
Let us consider some streamlined possibilities.
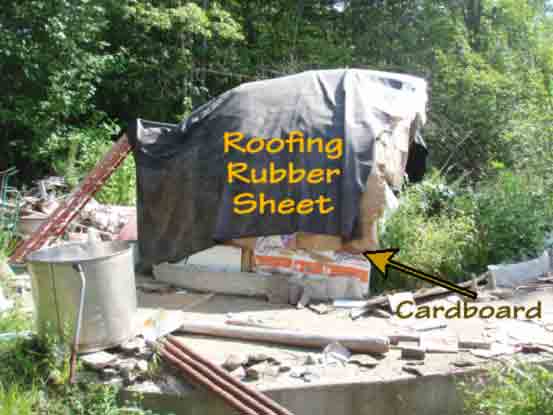
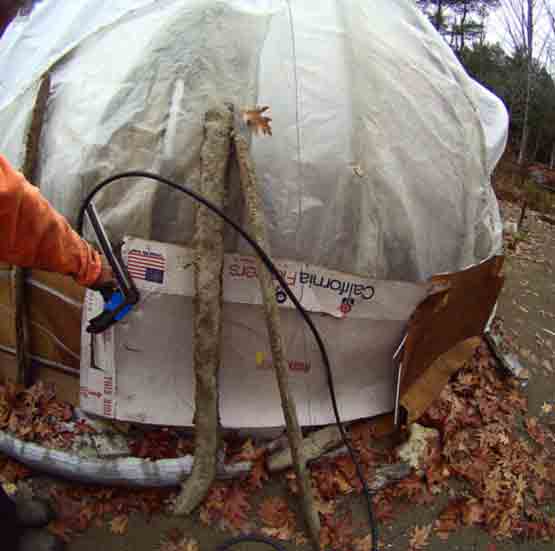
This project has been gradually pieced together. Original design concepts are here. Progress As Of Mid-August 2011 below. Use of cardboard demands non-stop-installation, with immediate capping. The wind taught me that twice!
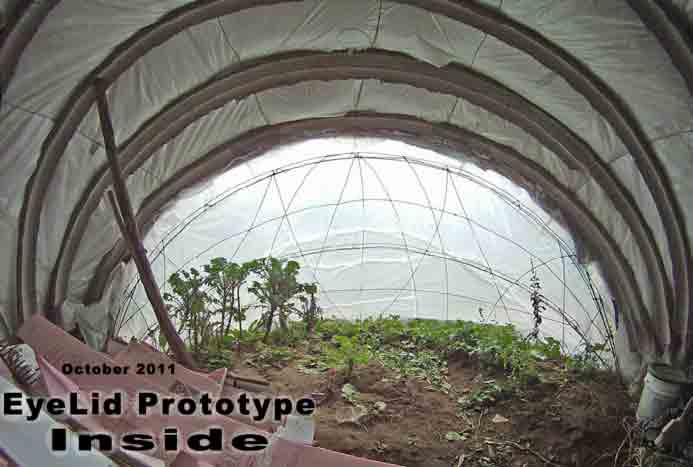
Progress As of November 1, 2010: Covering entire dome with cheap PE plastic sheet. One layer let too much cold in. . Functioning eyelid shutters will have to be delayed, indefinitely. My income is too low and other projects interest me more. I love to feel human and not feel like a robot in high gear.
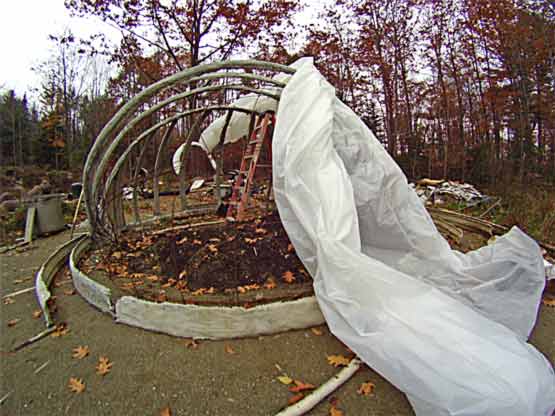
After covering with plastic and tying it down. Recycled cardboard layer is begun, stapled at corners. I tried out some large boxes. Unfortunately: I allowed too many days for cardboard work and the wind blew off cardboard layers twice!
My lapses in this effort persisted for years. Progress As of Summer 2010:
Progress As of March 2010: The eyelid framework has been welded in place. Paper-crete or paper-mache delayed. New plans have evolved (yet to be modeled and linked here). Last years visualizations live here-(December 08 to February 09 Visualizations are moved to this link.)
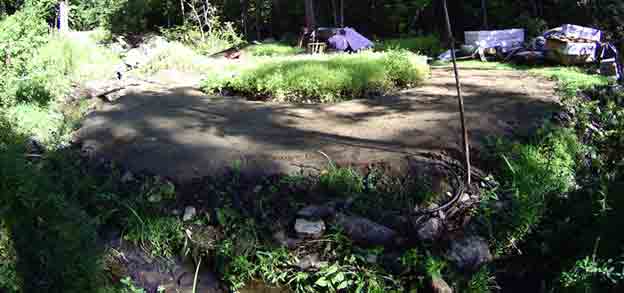
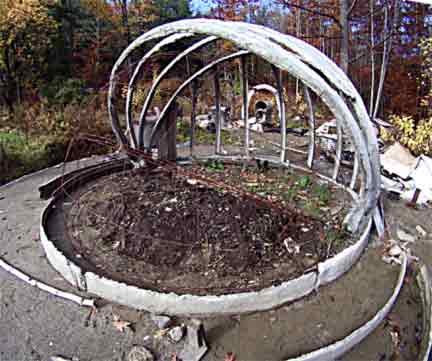
Picture above: After much labor, the central greenhouse spot is seeded with fast growing buckwheat. This is a bio dynamic method to improve clay-like soils, due to the prolific root structures of buckwheat. A thin layer of sand was spread in a circle around the greenhouse center. This sand easily smooths out a surface to install the sheets of styrofoam.
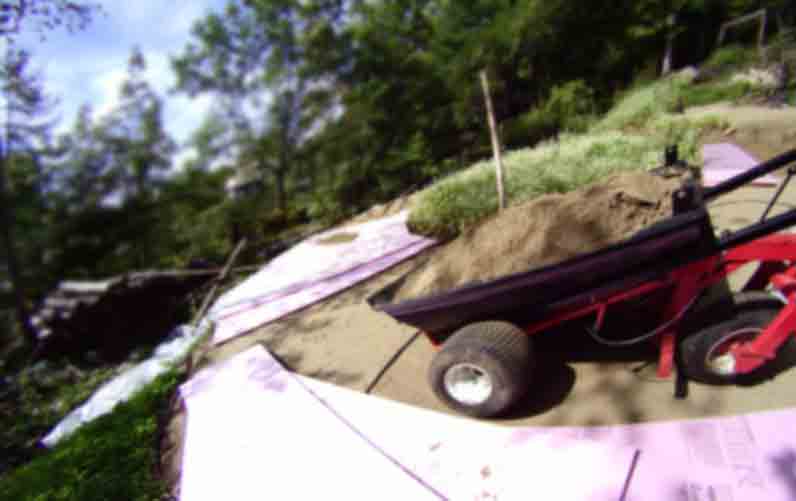
Insulation sheets were cut into trapezoidal shapes, so as to easily form a ring around the greenhouse soil. After placing insulation, a thin layer of soft sand was placed to protect styrofoam. I have updated my plan in which i will sweep off this sand covering and install a solar collector made with small diameter PE tubing-- I will embed this tubing in ferrocement for good collector conductivity with low thermal reluctance. It will be strong enough to walk over and also protect the insulation sheeting.

After placing the styrofoam insulation, it was trimmed to form an outer, rounded perimeter. Then the soil bank was trimmed to conform to this shape. Next the stream bed was shaped to fit closely to the insulation.
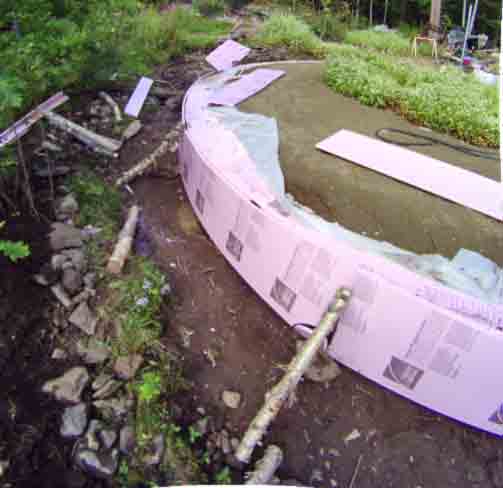
This is an experiment to see whether the streamlet can keep the soil from frost heaving to the extent of ruining my side-wall insulation. If this works, it will demonstrate low tech cost savings. If it frost-heaves, flexible joints can be devised with scrap inner tubes.
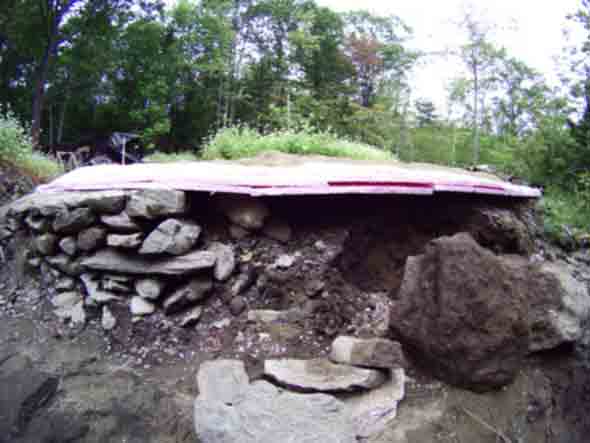
Some sections used up countless rocks found in this work. Mud was used like mortar between the rocks.
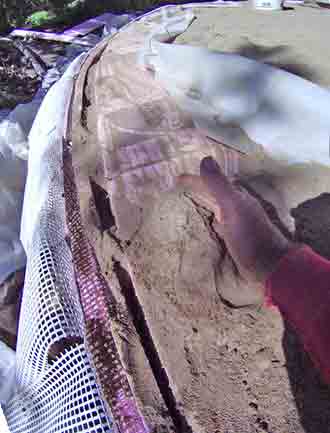
After a thin layer of plastic mesh reinforced mesh was plastered with Portland cement, fine, dry sand was 'injected' in to fill remaining voids.
My original inspiration to to build this greenhouse prototype was complicated by my site challenges. Storing summer heat to prevent winter freezing is much more difficult to achieve in generally wet areas. The summer of 2009 was unusually rainy in Maine. (The summers of 2010 & 2011 were both, also wetter than usual as a several year trend. According to my recollection going back to 1970, or so). My income generating work kept me away from the eyelid project until July. I made some progress with site drainage and preparations. (Progress was hampered by intermittent outside jobs).
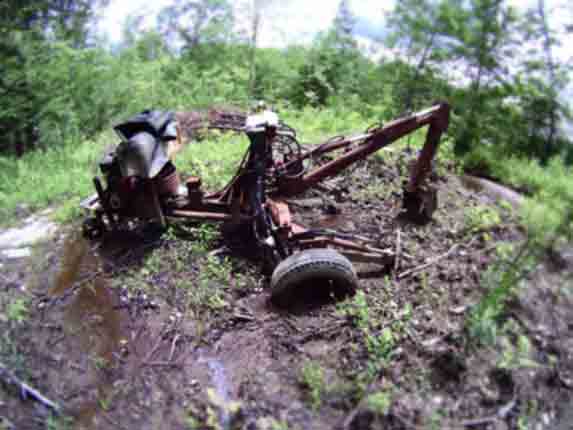
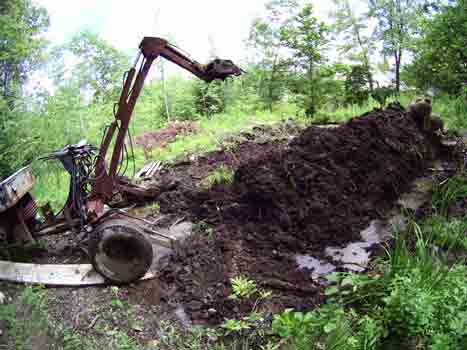
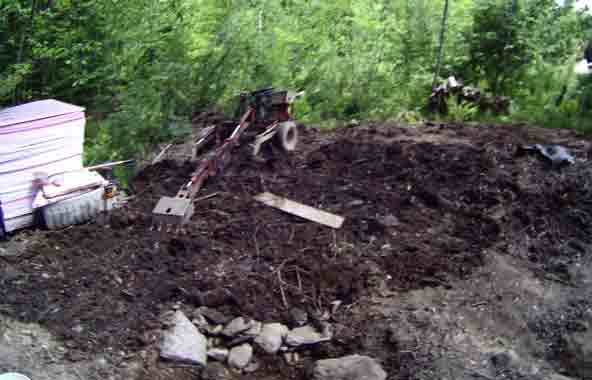
Start-up picture (June-July 09) of the very wet & muddy site with my home made digger ready to start work. ( Photo Notes- A plastic-fisheye camera was used for most photos on this page. Low costs fisheye lenses of today, are very helpful for architecture. Please allow that some fisheye distortion may distort views. Certain pictures did benefit from Photoshop's correction filter. Photo resolutions are reduced to speed internet connection.)
Above- Drain paths were first established to install drain pipes. My digger is old and tricky to use. Very little money was available to buy materials, so the following procedure demonstrates low cost methods.
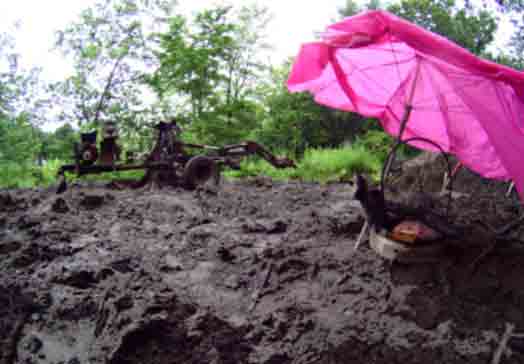
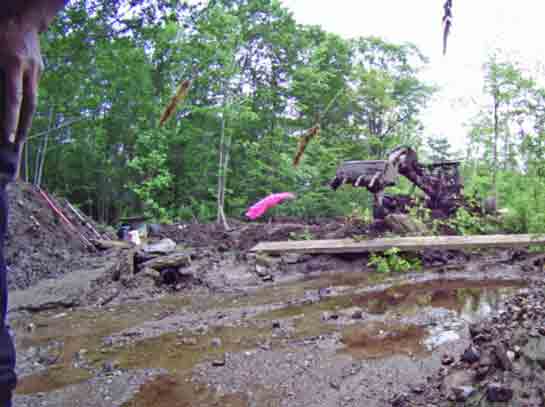
An old umbrella is used to keep a smudge pot functional. Minimal-smoke generation repels sudden mosquito appearances. At least the black flies were few this year. The early season dragonflies also suffered badly from the endless rain.
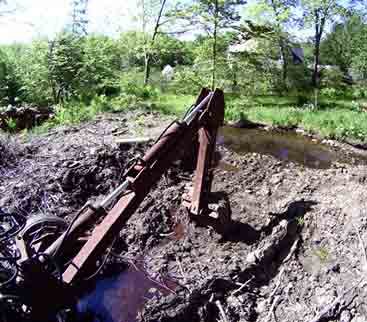
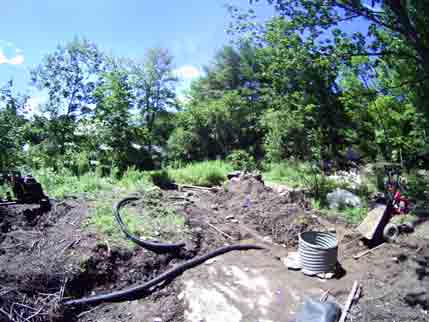
Parallel ditches were dug on the highest site elevation. The dug-dirt is temporarily piled between the two ditches. Planks helped navigate the wet-mud. (Eventually the picture below will be replaced or supplemented).
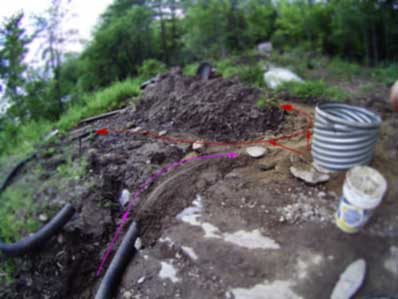
Above-- The sketched red arrows show were drain pipe was installed in ditch bottoms. A minimal amount of sand covered the solid drain pipes. A few selective sections of solid drain pipe were perforated to admit drainage entry. Note the foreground area reveals the discovered bed rock which prevented deeper digging. The jagged bed rock slopes away from foreground.
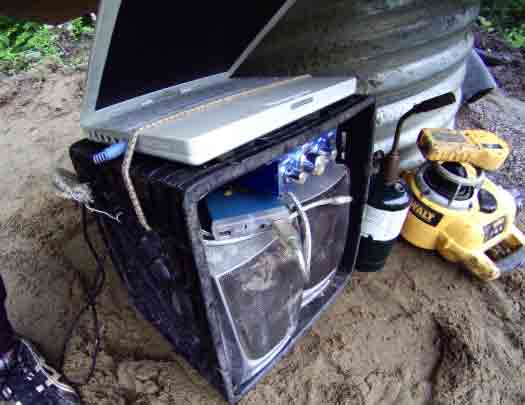
Much hand labor was needed. So i rigged up an antique ibook pc along with repurposed speakers and a cheap motorcycle amplifier. This allowed me to listen to fascinating podcasts from the internet! Let my mind wander into remarkable learning from the likes of progressiveradionetwork and another vast array of fascinating whistle-blower interviews at http://projectcamelotportal.com/ and http://www.projectavalon.net/ My latest favorite listening spot on the interner is http://www.redicecreations.com/ ! Also text conversion has become a favorite for interesting books, when text can be transferred. Although e-books are typically locked against "read to me" conversion into mp3... Some sites offer free pdf books like this site: holybooks.com. Interesting listening for working alone. If one can detach from herd instincts.
Some free gravel was obtained from town-road runoff which has continually dumped gravel on my land. As will be seen, i am routing the natural drainage into a pretty stream to circle my eye-lid-greenhouse.
![]()
My penny-pinching project required special de-bugging skills. Above picture shows that a small amount of screened pea stone was added at some points along the solid drain pipe. At these points i drilled a number of small holes to drain the pea-stone water collectors. The picture above shows that some fine sand and mud managed to invade my solid drain pipe. My clearance method employs my garden hose to remove unwanted sand and mud. (The cut access hole is simply patched over afterwards and covered with the thin layer of pea stone.
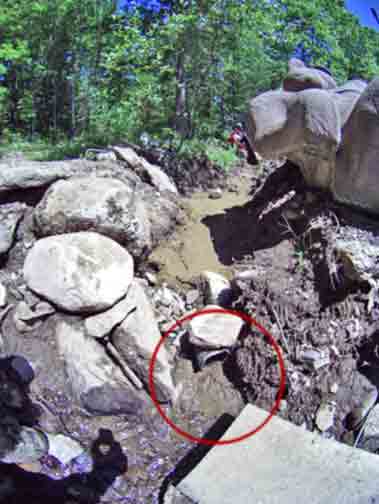
One of the parallel drain pipe ends is circled in photo above. Rocks protect the fine sand fill over the pipe. The flow continued for weeks. The drain pipe will be a very interesting ventilation, 'pre-heater' for the greenhouse, (during cold winter extremes).
Above picture shows the third pipe installation. It travels directly on top of jagged bed rock. It is primarily an air tube. To left, it is seen diving under my brush pile cleanup product. Note also that all 3 tubes are connected to a short scrape of metal culvert. This culvert also covers access to a crack in the bedrock, which emitted a small trickle of water from below).
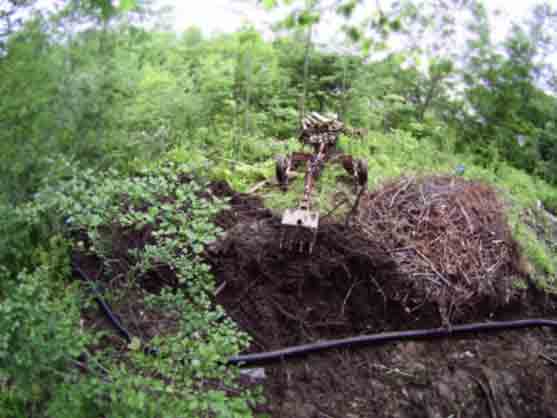
A ditch was dug and i scrapped the rugged surface of the bedrock. Next the remains of tree tops and brush will be pushed on top of the black pipe. This pipe will primarily be a breathing tube heat exchanger, (besides providing drainage in case of a surging flood water). It will allow warm weather air to heat up the sub soil and the bed rock, in order to 'annualize' it.
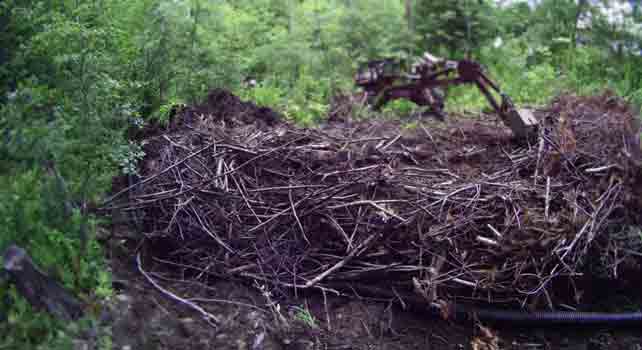
I should have spent more time protecting the black pipe, with careful hand labor. Instead i rushed the job with my hydraulic digger. Unfortunately, the pipe got a bit squashed in places. In any case, the brush will also serve as insulation extension and ultimately rot out for easy upgrading in the future (after the brush pile decomposes somewhat).
Gradually all the black pipes were covered and my top soils were sorted through. The best soil was tossed to the center of the planned greenhouse. To the left of above picture, is my biggest investment: Sheets of styrofoam. I wanted to use recycled material but decided to use styrofoam in a few critical places. (To avoid rot, since Maine soils can retain moisture, almost perpetually. Yet it should be worthwhile research to experiment with buried brush and bio-waste, used as insulation for annualizing heat storage.)

Teddychair was sculpted years ago and will eventually welcome visitors to see the eyelid greenhouse. Low cost experiments in resource conservation.

Click picture above to see older visualizations.
Here is my garden-cover plans for 2010 construction research.
More pictures of progress will follow along with updated plans. Visit again. See my visual portfolio, click here. Bo Atkinson in Maine, USA