A studded ferrocement system. All
the work in these pictures were from one piecemeal project done between 1976
and 1978. While one picture negative below was damaged , blurring was also
used as a speed www downloading.
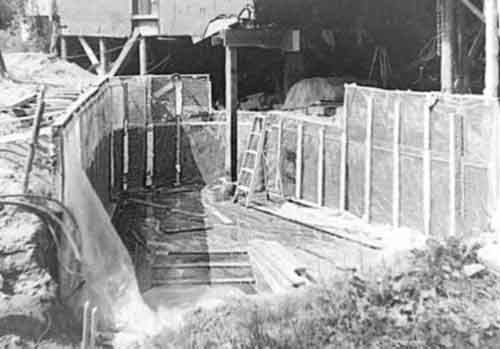
First Pic: A triangular or pie
shaped cellar hole was dug and carved in ground under the corner of an existing
old house. Temporary 1" X 4" boards (removed later), were framed
tightly against the carved cellar hole. Then 6 mil polyplastic was stapled
to the framed boards. Next, 4' X 8' sheets of expanded metal mesh were hung
on the 1" X 4" frames. One end of the pie shaped cellar was not
yet started in the first picture.
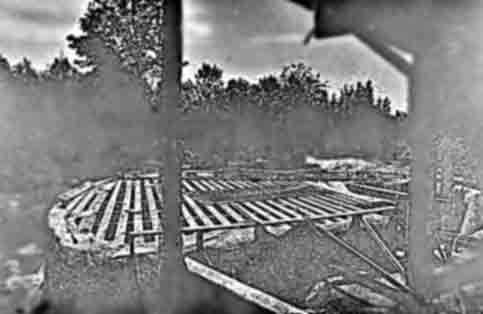
In the second picture, the 35mm
film was badly damaged. It is taken from the right side of the first picture.
It shows all walls already added. A curved wall for a dome radiusis on left
side. The dome was built later (1980). More boards have been framed on a
flat floor plane but with considerable space between each board. These are
temporary.
Next....Plastic will cover these
boards. Mesh will follow on top of plastic. Next the Rebar is laid out where
floor joists will be formed. Next, 2"X5"X 8' mesh "U" shaped
joist channels are hand formed and fitted on top of rebar lay out which is
on top of flat mesh. The 2" X 5" studs were placed in cellar hole
before the floor forming. These are seen in the 3rd picture, just below.
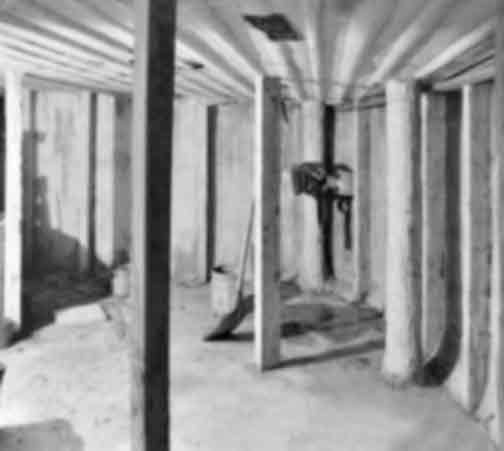
The cement studs in picture above
were pre cast before placement and walls were also cemented before floor
above. The floor above was cemented with joist forms integrally. Orbital
sander was used to aid penetration of the cement. The smooth ridges in the
ceiling of the cellar are due to the spacing of the mentioned flat boards.
A thicker round pillar is on right, which employs helix wrapped wires around
mesh tube, filled with concrete.

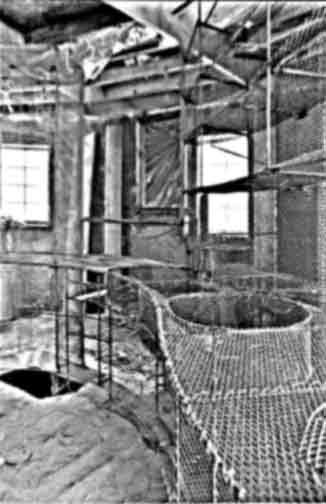
Above is a picture of the ground
floor addition. The fourth picture shows a half round cylindrical wall under
preparation. The cellar is beneath. The 2nd floor above was built first and
supported with cast in place cement pillars. The 1"X4" boards have
been rip sawed in half and framed along the perimeter of the first floor.
(Obviously more pics would help here). Plastic has been hung on the inside
of these ripped 1"X2" boards. Mesh was hung inside of this plastic.
2"X10" window frames were placed from the inside against the pre
trimmed mesh. These materials were all tied and fastened for stability. The
wood was masked to protect it and curing cement which followed. The cement
was applied by hand trowel with a crew of about 7 inexperienced men at about
$20 each, for a short day of labor, (a good wage back in 1976, in the backwoods).Following
are pictures of the mesh skeletons framed on stick welded #3 rebar. The kitchen
sink is shown in a "horse shoe" kitchen layout.
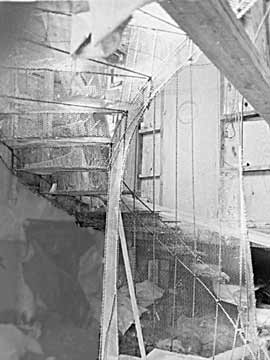
Last is a picture of the 1978 spiral
stair case.
Bo's best building links
& non-profit research follow below.
Note: These pages are placed in the public domain and are furnished "as is". The author assumes no responsibility for the use or misuse of the concepts in this series. All pertaining laws of life should be satisfied, in building or testing my concepts or descriptions, as are posted on my